Step-by-Step Guide
Create a Maison Safqa App in Shopify
1
Click on Settings

2
Click on Apps

3
Click on Develop apps

4
Click on Build apps in Dev Dashboard

5
Click on Create app

6
Type "Maison Safqa app"

7
Click on Create

8
Select 2025-10

9
Type "https://maisonsafqa.com"

10
Paste scopes into text area
read_assigned_fulfillment_orders,write_assigned_fulfillment_orders,read_fulfillments,write_fulfillments,write_inventory,read_inventory,write_locations,read_locations,read_merchant_managed_fulfillment_orders,write_merchant_managed_fulfillment_orders,read_orders,write_orders,read_products,write_products,read_third_party_fulfillment_orders,write_third_party_fulfillment_orders

11
Click on Release

12
Click on Settings

13
Click on Copy client ID to clipboard

14
Click on Copy client secret to clipboard

15
Click on Home

16
Click on Install app

17
Click on your store

18
Click on Install

19
Click on Settings

20
Click on Domains

21
Click on example.myshopify.com

22
Copy Value of the Domain and Share it

23
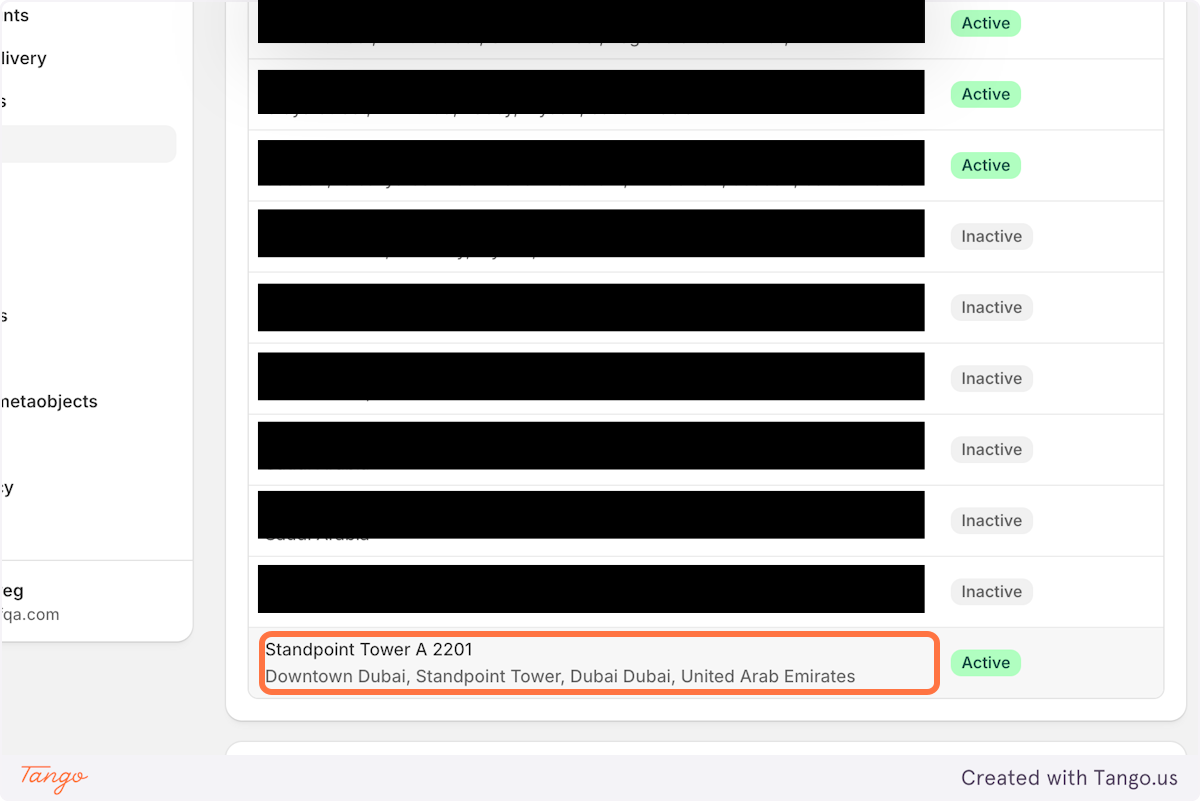
Click on Locations

24
Click on Desired location and share URL
You're All Done!
Step 25 of 25
By the end of this process, you will have the following values ready to share with the Maison Safqa team:
Shopify Domain
example.myshopify.com
Location URL / Location ID
Client ID
Client Secret